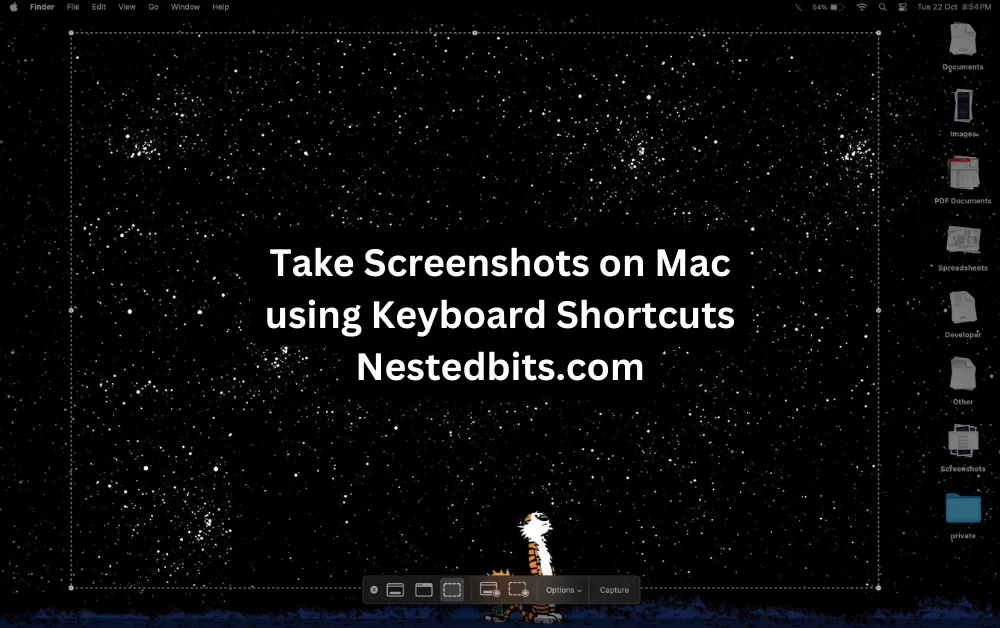
Screenshots are very useful for sharing what’s on your screen, whether for troubleshooting, creating tutorials, or saving information. If you’re a Mac user, you’ll find that taking screenshots can be done very easily with a few keyboard shortcuts. Here’s how you can capture screenshots on Mac using keyboard shortcuts in various ways:
Table of Contents
1. Capture the Entire Screen
To take a screenshot of your entire visible screen:
- Press Command (⌘) + Shift + 3.
- You’ll hear a camera shutter sound if your sound is enabled, indicating the screenshot has been taken.
- The screenshot will automatically save to your desktop as a .png file.
2. Take Screenshot of a Portion of the Screen
If you only need a part of your screen:
- Press Command (⌘) + Shift + 4. Your cursor turns into a crosshair.
- Click and drag to select the area you wish to capture. Release the mouse button or trackpad to take the screenshot.
- Like before, the image saves to your desktop.
3. Capture a Specific Window
To screenshot just one window:
- Press Command (⌘) + Shift + 4.
- Then hit the Spacebar. The cursor changes to a camera icon.
- Move this camera over any window; the window will highlight. Click on the window you want to capture.
- This method captures the window with a shadow for a nicer effect, but you can hold Option while clicking to remove the shadow.
4. Using the Touch Bar for Screenshots
For those with a MacBook Pro featuring a Touch Bar:
- Go to System Preferences > Keyboard and customize the Touch Bar to include a screenshot button if it’s not already there.
- Tap the screenshot button on your Touch Bar, then choose what you want to capture (entire screen, selected window, or portion).
- After selection, tap ‘Capture’.
5. Opening the Screenshot Tool
MacOS Mojave and later versions introduced a more versatile screenshot tool:
- Press Command (⌘) + Shift + 5.
- A small panel appears at the bottom of your screen with options to capture the entire screen, a window, or a selection. It also includes video recording options for the screen.
Additional Methods:
- Save to Clipboard: Add Control to any of the above combinations (e.g., Control + Command + Shift + 3) to save the screenshot to your clipboard instead of a file. You can then paste it into documents or image editors.
- Timed Screenshots: Using Command (⌘) + Shift + 5, you can select ‘Options’ to set a timer for your screenshots, giving you time to set up the screen or open menus.
Conclusion
Mastering these screenshot keyboard shortcuts on Mac will enhance your productivity. Whether for work or personal use, these tools are designed to integrate seamlessly into your daily computer activities, proving once again why Mac’s user interface remains popular for its intuitive design.


Leave a Reply